Maintaining healthy teeth and gums is essential, and regular dental cleanings play a key role in achieving that. A professional cleaning goes beyond what daily brushing and flossing can accomplish, helping to prevent cavities, gum disease, and other oral health issues.
In this article, we’ll guide you through the nine important steps of the dental cleaning process so you know what to expect during your next visit.
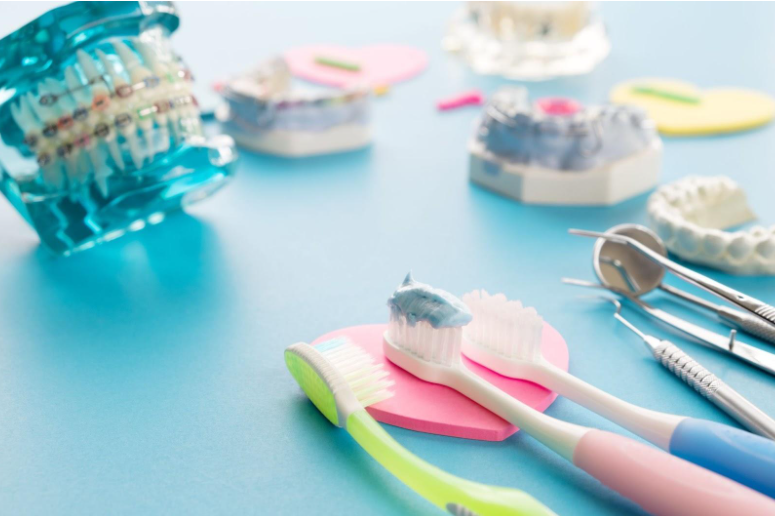
9 Steps of the Cleaning Your Pearly Whites
Step 1: Initial Examination
The dentist or hygienist will perform a thorough examination prior to starting the cleaning. Using a small mirror, they’ll check for signs of cavities, gum disease, or other oral health concerns. If they notice significant issues like advanced gum disease or deep cavities, they may pause the cleaning and recommend treatment before proceeding.
This quick exam is important to identify any problem areas and personalise the cleaning to meet your specific needs. They may also suggest when to return for your next cleaning, typically every six months. Ensuring good oral hygiene at home is key to maintaining the work done during the cleaning process. For more tips on maintaining oral health, you can visit smileville.com.au.
Step 2: Plaque and Tartar Removal
Next, the cleaning begins with removing plaque and tartar. Tartar is hardened plaque that is impossible to remove with brushing and flossing, whereas plaque is a gluey film that builds up on your teeth. Using a scaler, the dental hygienist carefully scrapes away plaque and tartar, especially around the gumline and between the teeth.
Though this step may feel a bit uncomfortable, it’s vital for preventing cavities and gum disease since tartar can’t be removed at home.
Step 3: Deep Cleaning with Ultrasonic Tools
In some cases, ultrasonic tools are used to aid in removing more stubborn tartar deposits. These tools vibrate and loosen the plaque and tartar, making it easier to clean your teeth without manual scraping. The process is effective and helps ensure a comfortable cleaning experience.
By using advanced tools, dental professionals can ensure a deeper clean, which is especially helpful for areas that are harder to reach.
Step 4: Polishing Teeth
After tartar and plaque removal, the next step is polishing. A special gritty toothpaste and a high-powered brush are used to remove any surface stains and smooth the enamel. This step helps give your teeth a clean, polished finish while also making it harder for plaque to build up in the future.
Polishing doesn’t just brighten your smile—it also leaves your teeth feeling smooth and refreshed.
Step 5: Flossing
The dental hygienist will then floss between your teeth to remove any remaining debris. Even if you floss at home, professional flossing ensures that no food particles or plaque are left between your teeth. This step also helps identify any areas where your gums may bleed, which can be a sign of gum disease.
Flossing during a dental cleaning reaches areas that brushing simply can’t, contributing to a cleaner, healthier mouth.
Step 6: Rinsing
After flossing, you’ll be asked to rinse your mouth. Typically, this rinse contains fluoride or an antiseptic solution to help eliminate bacteria and leave your mouth feeling clean. Rinsing is a quick but essential step to wash away any leftover debris from the cleaning process.
This final rinse is a refreshing way to wrap up the cleaning steps and ensure your mouth feels thoroughly cleansed.
Step 7: Fluoride Treatment (Optional)
As an added layer of protection, a fluoride treatment may be applied. This step is optional but highly recommended, especially for individuals prone to cavities. Fluoride helps strengthen your teeth and provides protection against decay for several months.
The fluoride treatment is quick and painless, and it is applied directly to the teeth to fortify the enamel.
Step 8: Final Inspection
Once the cleaning is complete, the dentist may conduct a final inspection. This quick check ensures that everything is in good condition and that no areas were missed during the cleaning. If any concerns arise during the inspection, your dentist will provide recommendations for treatment or follow-up care.
This final look offers peace of mind and confirms that your oral health is on the right track.
Step 9: Home Care Recommendations
The last step in the dental cleaning process is receiving personalised home care advice. The dental hygienist will recommend brushing techniques, flossing frequency, and any specific products that may help maintain your oral health between visits. Regular cleanings are vital, but maintaining your teeth at home is just as important.
Final Thoughts
Professional dental cleanings are a critical part of maintaining oral health. At Smile Ville, our team is dedicated to providing a thorough and comfortable cleaning experience, helping you keep your teeth and gums in top condition. With regular cleanings and proper home care, you can prevent many common dental issues and ensure a healthier smile.
Book your cleaning appointment today and give your oral health the attention it deserves!